Deploying a Complete CRM: Rails 8 Rapid Prototyping to Production in 15 Minutes (Part 4)
TL;DR
Introduction
After finishing the CRM last week, we should now deploy it. Rails 8 ships with docker1 integration and Kamal2 is made for easily managing these deployments. We'll deploy to DigitalOcean3 because of its easy scaling and simple setup, but first a reminder why this is important.
Why we're doing this and why it matters for your business: When stakeholders can interact with a functional prototype that looks and feels production-ready, buy-in happens 3x faster than with static mockups. I've seen this repeatedly with B2B SaaS companies validating new features—functional beats beautiful every time when it comes to early validation.
We're going to add a timer to track how long it takes to get our CRM live. My estimation is that it takes less than an hour, but let's see if Rails can surprise us again.
Our setup
Before we begin, let's talk through the setup we'll be using for deploying. Kamal uses Docker and DockerHub out of the box to deploy our application. In essence, what Kamal will be doing once we run a deploy is create a new image (or update it with the newest changes) on DockerHub and subsequently push it to our DigitalOcean droplet. That means there are a few separate elements we need to set up.
Let's deploy this CRM and demonstrate why Rails remains unmatched for business validation speed!
Account setup
⏱️ Elapsed time: 00:00
First, we should create accounts for DockerHub and DigitalOcean. I just used my GitHub account, since that's what I use for all my development interactions. Of course, we also need a domain to deploy it to. I'll use a subdomain on my own website, but the setup will be the same for a normal domain.
These foundational accounts create our deployment pipeline—the invisible infrastructure that transforms your validated prototype into a stakeholder-accessible application.
Deploy configuration
⏱️ Elapsed time: 01:30
DockerHub
We're going to need the account information from DockerHub to handle deploys correctly. Copy your username from DockerHub and paste it into deploy.yml in our application in the following places:
# config/deploy.yml
image: <your-username>/databae
# ...
registry:
  username: <your-user>
For me, that looks as follows:
image: rmgoudeketting/databae
# ...
registry:
  username: rmgoudeketting
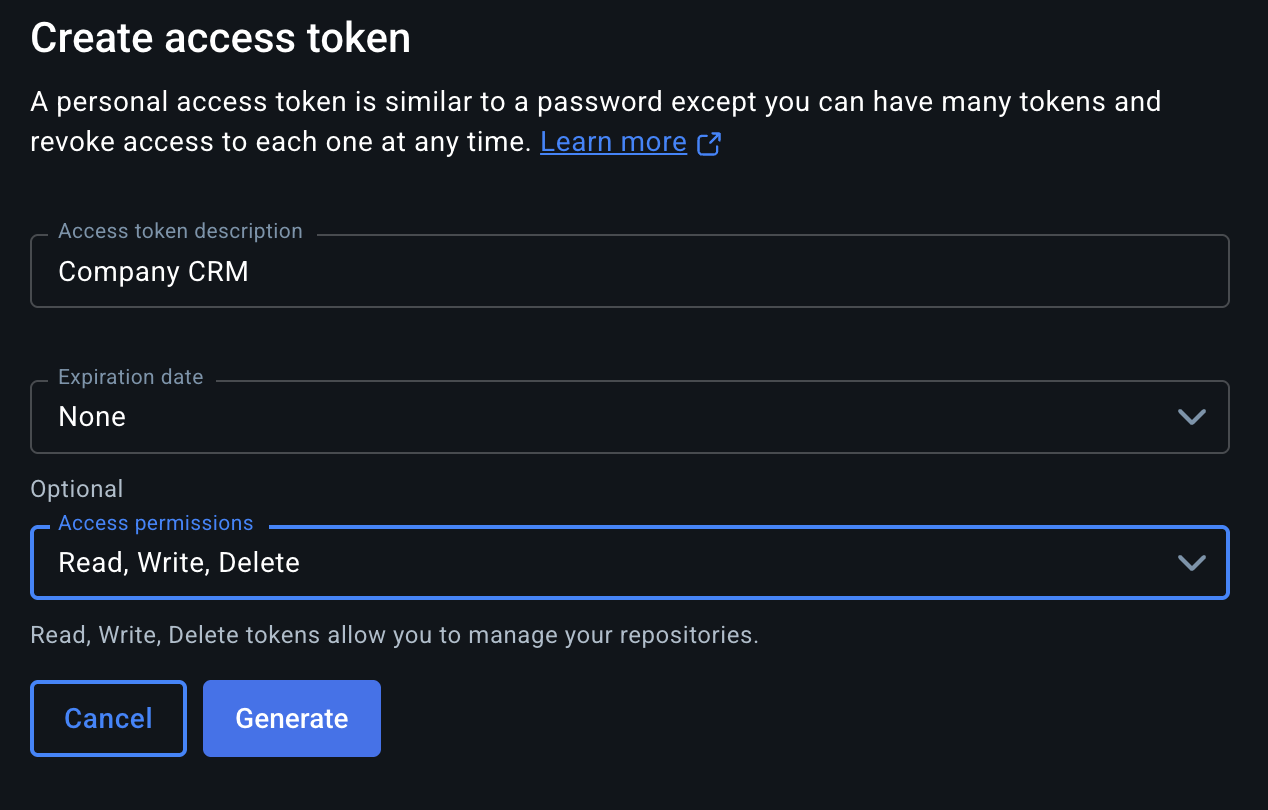
If you've looked through the deploy.yml file a little, you see that there's a variable called KAMAL_REGISTRY_PASSWORD. This is the password that kamal uses to authenticate DockerHub and crucial to make our deployments work. Let's make an access token in DockerHub. For this, go to DockerHub and locate your Account Settings, from where you should be able to find Personal Access Tokens (or click here to go there directly). Generate a new token, give it a recognisable description, and ensure Read, Write, Delete access permissions.
Once you click generate, you should see the following:
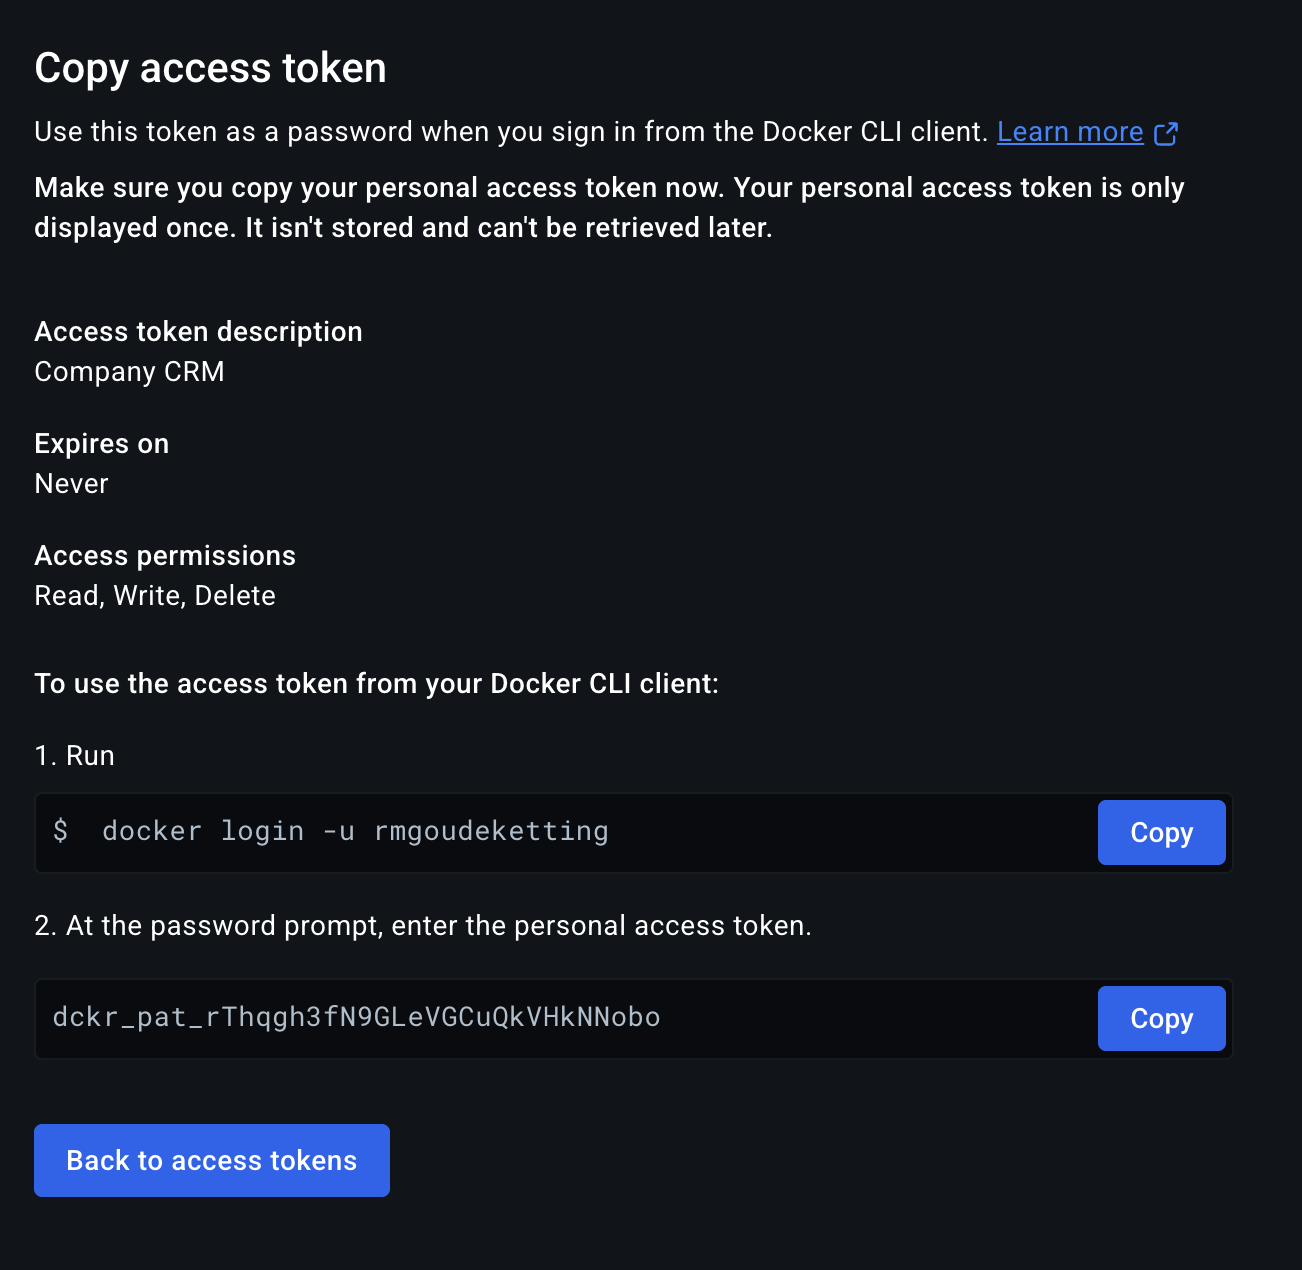
Next, we should create a .env file. I personally like to create environment specific .env files, so let's create .env.production. Don't forget to add them to the .gitignore if they're not in there by default. Now go back to DockerHub and copy the personal access token. It should look something like dckr_pat_..... We should add this to our .env.production file like so:
KAMAL_REGISTRY_PASSWORD=dckr_pat_...
At the top of our deploy.yml, add the following line:
<% require "dotenv"; Dotenv.load(".env.production") %>
DigitalOcean
Next, we need to set up a droplet on DigitalOcean. Log in to DigitalOcean and create a new project. Name it something you can remember, I'll just go for DataBae. It then asks you to move resources, but you can skip that step. Next, look for the button that says 'Create Droplet' or 'Spin up a droplet'. This is what our server is going to run on. The great thing about DigitalOcean is that they charge you by the minute. Once you're done showing your application to your stakeholders, you can destroy the droplet and database and you stop paying immediately.
- Make sure to select the region closest to you for the best performance.
- I kept the operating system to the set default, but if you run a specific version for your app, definitely choose that.
- For size and CPU options, I went the smallest I could go, $4/month.
- There's free improved metrics monitoring and alerting, so no reason not to tick that box.
- For authentication, select SSH and create a
new SSH key. For this, just follow the instructions that DigitalOcean provides and you should be set. - Select the
managed database. This is the most expensive bit of our application at $15/month. However, it includes unlimited managed databases in the cluster, so you could connect more than one application to it that would still have their own databases. - For the database type, select
PostgreSQL - Then click
Create Droplet
Once the droplet spins up, you can copy the IP address and paste it into your deploy.yml configuration:
# config/deploy.yml
servers:
  web:
    - 165.227.173.198
Next, we have to configure the proxy to make sure it points to the right domain. First in deploy.yml:
# config/deploy.yml
proxy:
  ssl: true
  host: databae.goudeketting.nl
And then add the configuration to your hosting provider. Since I'm adding it as a subdomain, I added the following A record:

Database connection
For the database connection, we can make a database in the cluster we just launched. For this, click on your database cluster and then go to Users & Databases. If you scroll down, you can add a new Database Name. I called mine databae. Go back to the project overview and click the three dots of the cluster to find the connection details. Select the connection string and copy it.

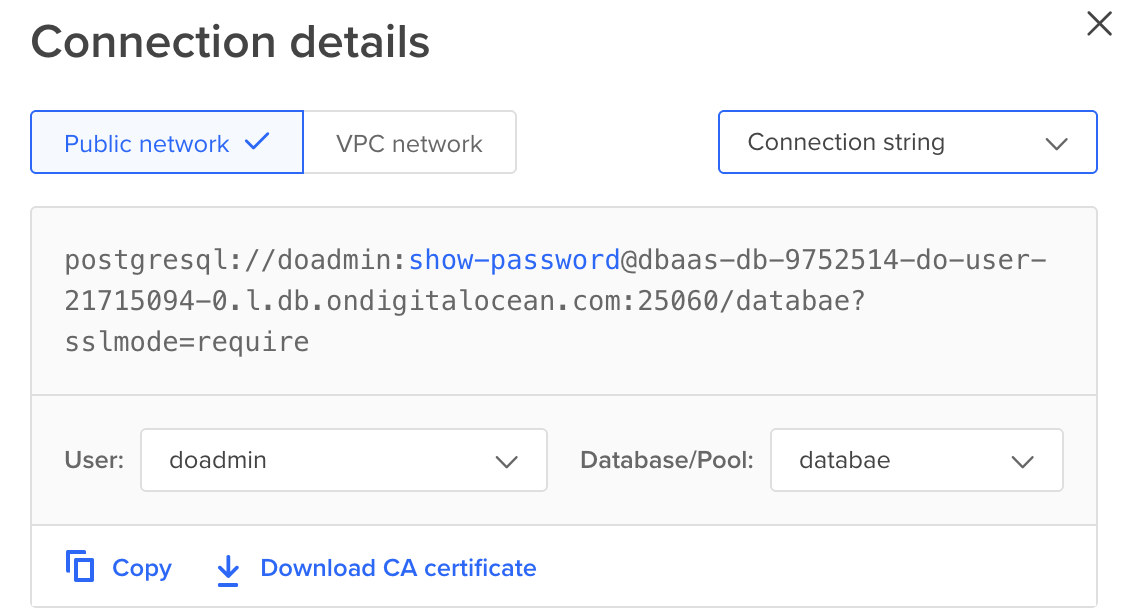
Open our .env.production and add:
DATABASE_URL=<connection string>
Then open .kamal/secrets and add the following line below the KAMAL_REGISTRY_PASSWORD
DATABASE_URL=$DATABASE_URL
And also, let's add the DATABASE_URL to our deploy.yml:
# config/deploy.yml
env:
  secret:
    - RAILS_MASTER_KEY
    - DATABASE_URL
There are a few more things we have to do before we can actually run the deploy. For starters, we have to make sure that we have docker installed. I use Docker Desktop on my Mac, but you might need a different installation. You can find the right installation for your system on docs.docker.com.
Database setup
⏱️ Elapsed time: 05:23
In less time than a typical stakeholder meeting, we've configured enterprise-grade infrastructure. Now let's set up Rails 8's powerful solid foundation.
Rails comes with a lot of specialised tools out of the box, the most important ones for our deploy are solid_queue, solid_cable, and solid_cache. These provide background workers, a websocket adapter, and caching. We're not actually using them right now, but they need to be configured for our deploy to work. Let's do that now.
First, we need to generate the migrations. Run the following commands
rails g migration AddSolidQueueTables
rails g migration AddSolidCacheTables
rails g migration AddSolidCableTables
And then copy the content from the db/queue_schema.rb, db/cache_schema.rb, and db/cable_schema.rb to the change methods of the newly generated migrations. Don't forget to run rails db:migrate.
Then, we need to update the database.yml, queue.yml, cable.yml, and cache.yml with the following content:
# config/database.yml
default: &default
  adapter: postgresql
  encoding: unicode
  # For details on connection pooling, see Rails configuration guide
  # https://guides.rubyonrails.org/configuring.html#database-pooling
  pool: <%= ENV.fetch("RAILS_MAX_THREADS") { 5 } %>

development:
  primary: &primary_development
    <<: *default
    database: company_crm_development
  cache:
    <<: *primary_development
  queue:
    <<: *primary_development
  cable:
    <<: *primary_development

test:
  <<: *default
  database: company_crm_test

production:
  primary: &primary_production
    <<: *default
    url: <%= ENV["DATABASE_URL"] %>
  cache:
    <<: *primary_production
  queue:
    <<: *primary_production
  cable:
    <<: *primary_production
# config/queue.yml
default: &default
  dispatchers:
    - polling_interval: 1
      batch_size: 500
  workers:
    - queues: "*"
      threads: 3
      processes: <%= ENV.fetch("JOB_CONCURRENCY", 1) %>
      polling_interval: 0.1

development:
  <<: *default

test:
  <<: *default

production:
  <<: *default
# config/cable.yml
development:
  adapter: solid_cable
  connects_to:
    database:
      writing: cable
  polling_interval: 0.1.seconds
  message_retention: 1.day

test:
  adapter: test

production:
  adapter: solid_cable
  connects_to:
    database:
      writing: cable
  polling_interval: 0.1.seconds
  message_retention: 1.day
# config/cache.yml
default: &default
  store_options:
    # Cap age of oldest cache entry to fulfill retention policies
    # max_age: <%= 60.days.to_i %>
    max_size: <%= 256.megabytes %>
    namespace: <%= Rails.env %>

development:
  <<: *default

test:
  <<: *default

production:
  database: cache
  <<: *default
And then lastly, we need to update the production and development configs with the same code:
# config/environments/development.rb & config/environments/production.rb
Rails.application.configure do
  # ...
  # Replace the default in-process memory cache store with a durable alternative.
  config.cache_store = :solid_cache_store

  # Replace the default in-process and non-durable queuing backend for Active Job.
  config.active_job.queue_adapter = :solid_queue
  config.solid_queue.connects_to = { database: { writing: :queue } }
  # ...
end
Deploying
⏱️ Elapsed time: 12:32
All that's left now is running kamal setup in the root of our project and watch the magic happen. It renders a lot of red text, but in this case, red is okay. As long as it keeps outputting new lines and there are no mentions of errors or fail, you're fine! The first setup takes a bit longer, since all the gems and packages still have to get installed. The subsequent deploys will be quicker, since all the gems will be cached at that point.
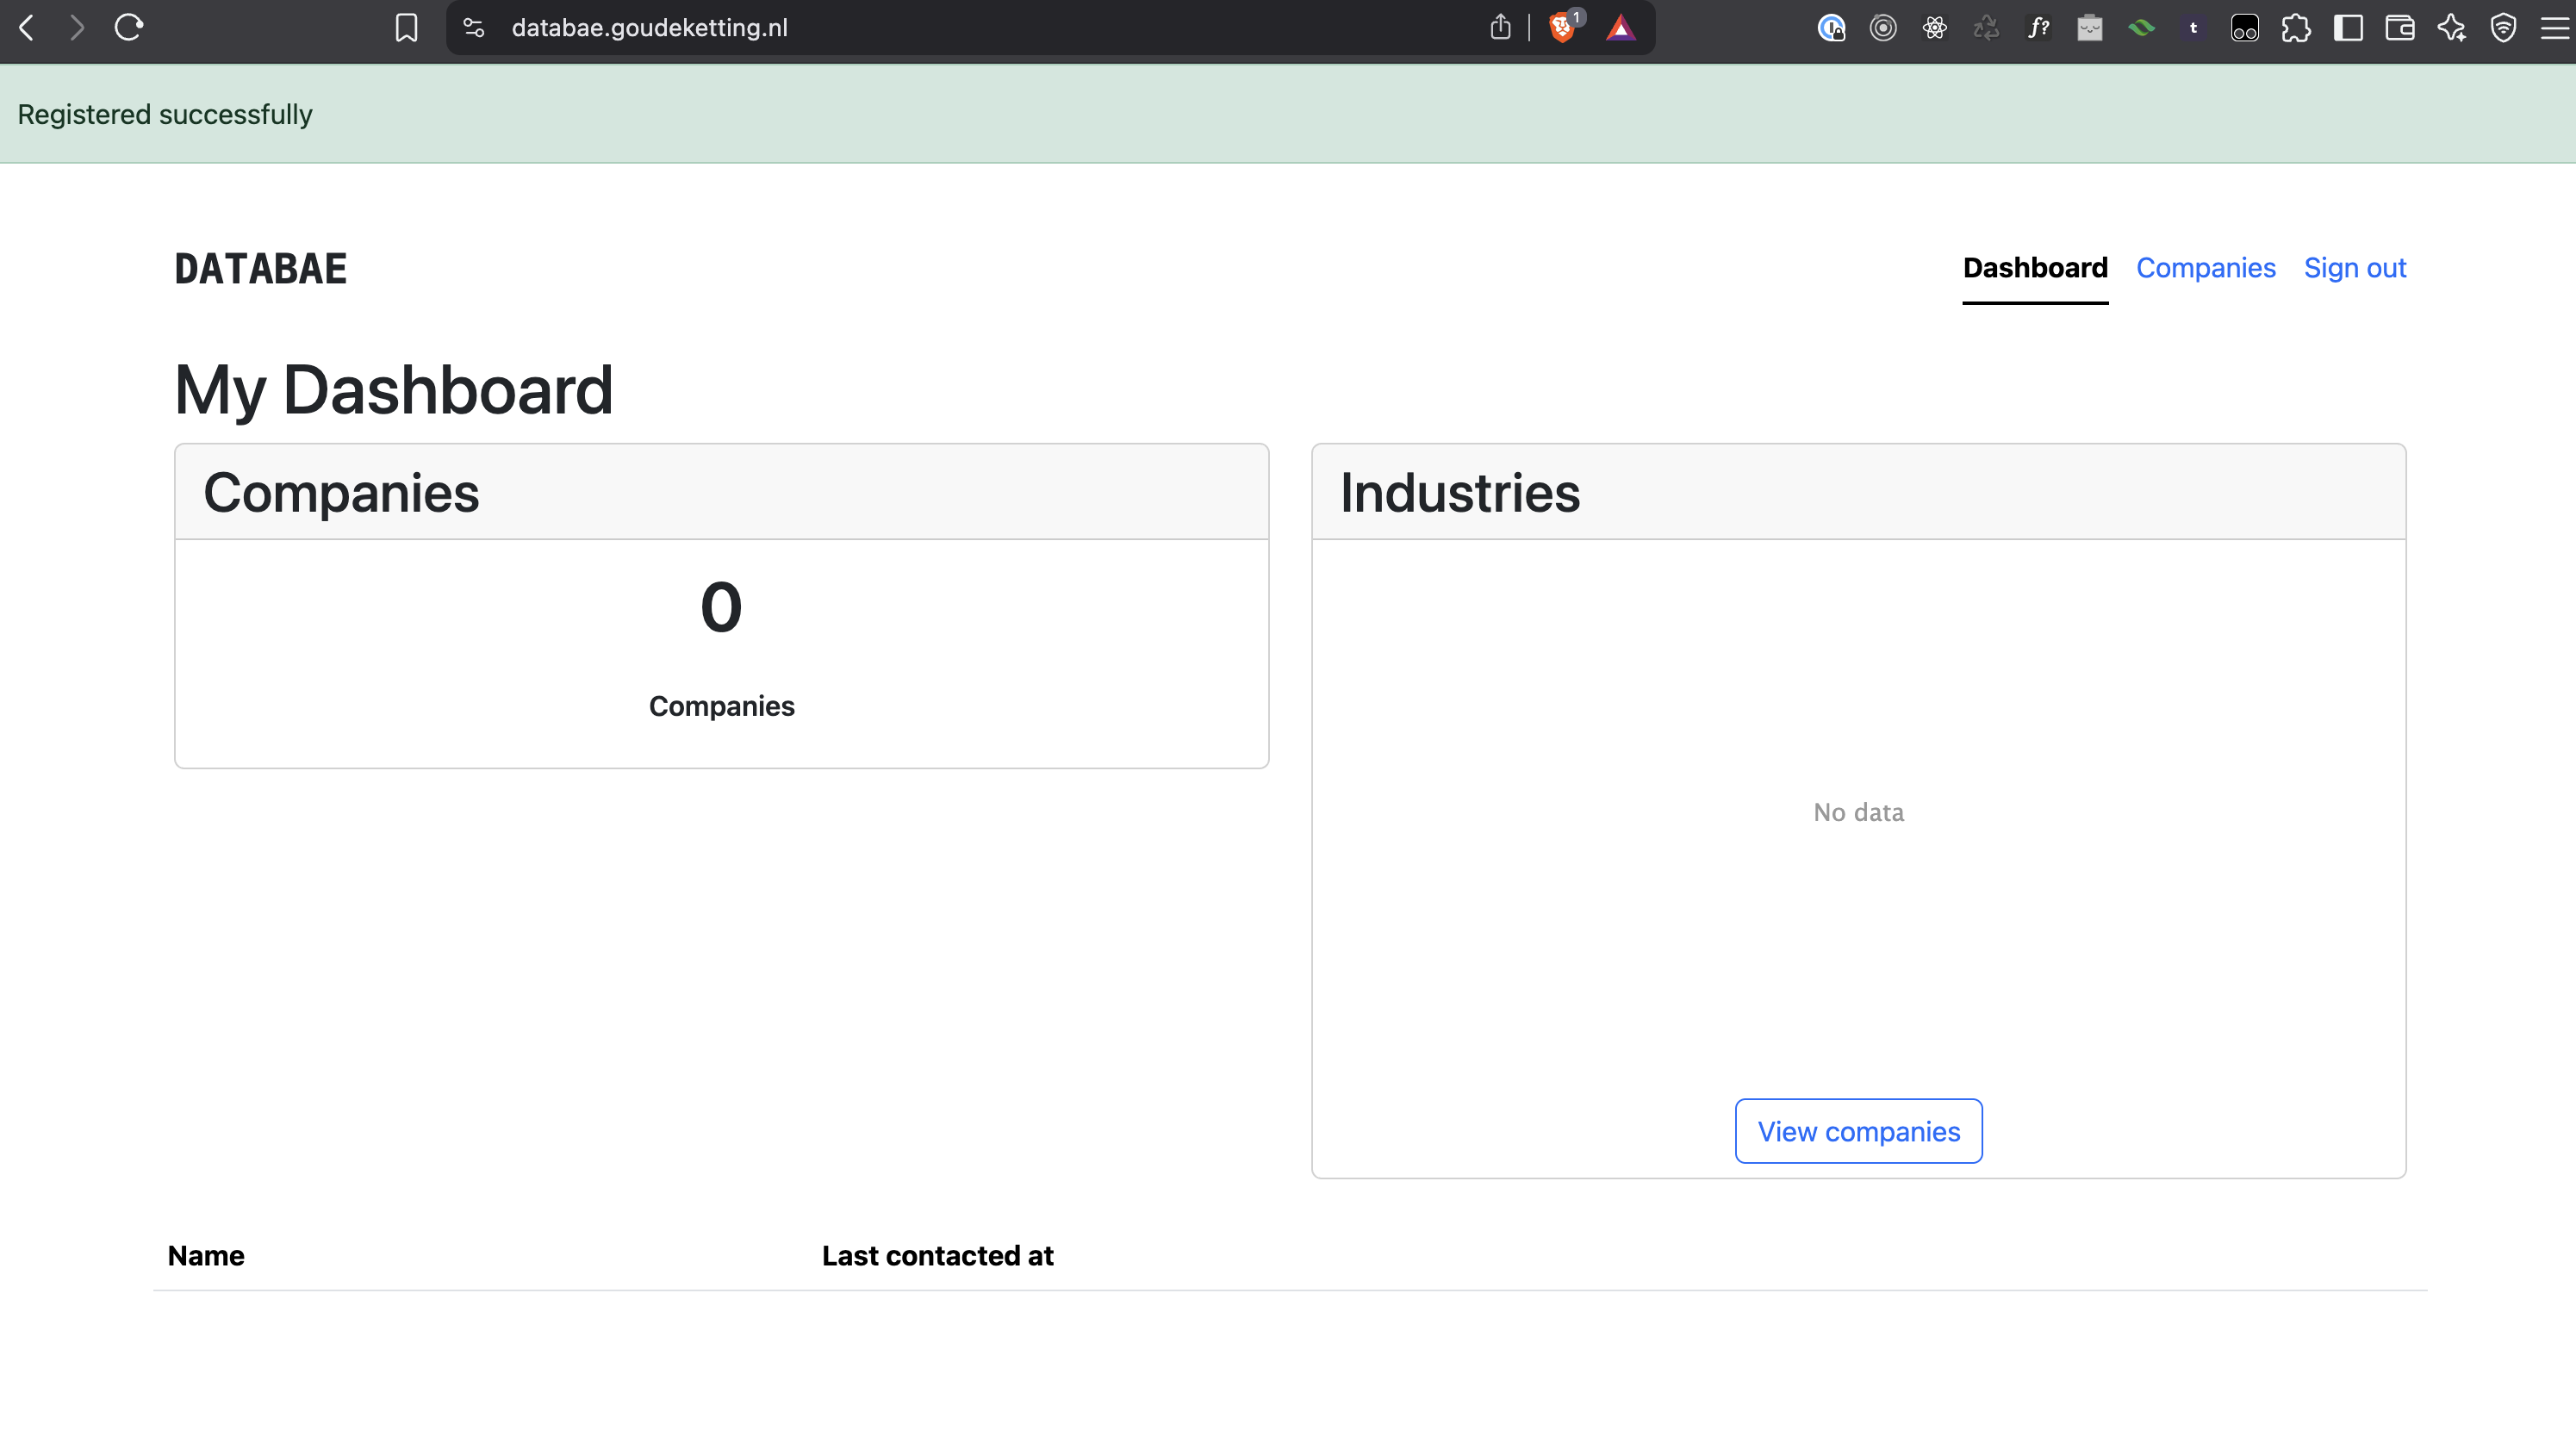
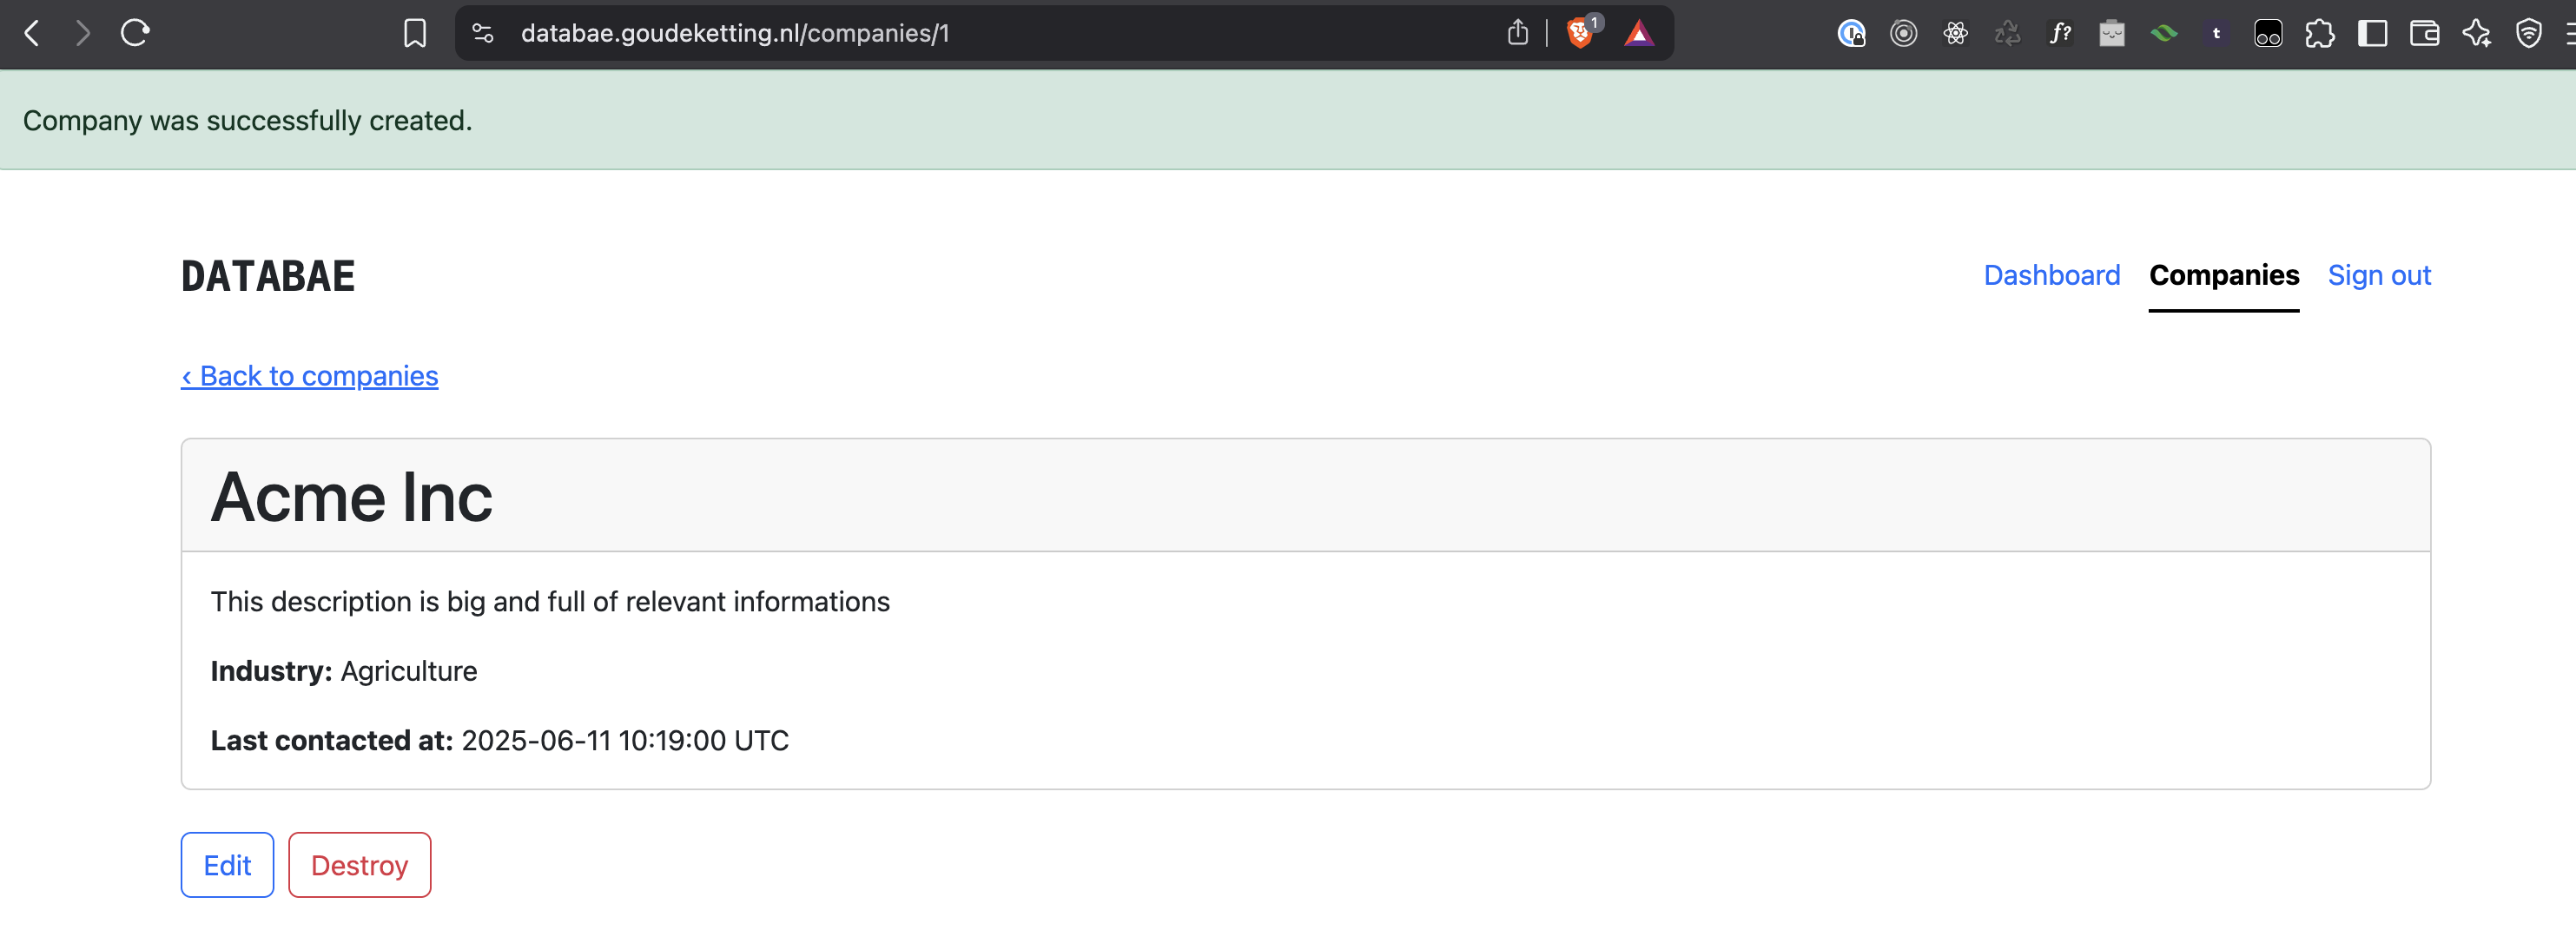
Three minutes later, just like that, our application is live!
Conclusion
⏱️ Elapsed time: 14:14
From Zero to Production in just over 2 hours
We've just completed a remarkable journey—transforming a business concept into a fully functional, production-deployed CRM system across four focused articles. This wasn't a toy application or a proof-of-concept demo. We built a genuine business tool with user authentication, role-based company management, industry categorisation, responsive design, and enterprise-grade deployment infrastructure.
What We Accomplished:
- Part 1 (35 min): Core application foundation with models, associations, and professional Bootstrap interface
- Part 2 (40 min): Enterprise authentication, user relationships, and interactive dashboard with data visualisation
- Part 3 (45 min): Advanced filtering, pagination, and custom Stimulus components for production-quality UX
- Part 4 (15 min): Production deployment with SSL, managed database, and scalable infrastructure
This progression demonstrates Rails' extraordinary power for systematic business validation. While other frameworks require extensive configuration, multiple services, and complex deployment pipelines, Rails delivered a complete solution with minimal friction at each stage.
The Business Impact
For startups, consultancies, and product teams, this approach transforms the validation timeline. Instead of spending weeks building and months deploying, you can have stakeholders interacting with functional prototypes within hours. This speed advantage compounds—faster validation means quicker pivots, earlier market feedback, and significantly reduced development risk.
Moving Forward
Our CRM is production-ready and can handle real business workflows immediately. From here, you might add contact management, email integration, reporting dashboards, or API endpoints—all building on the solid foundation we've established through this series.
Rails 8's4 integration of Docker, Kamal, and the solid_* libraries represents a maturation of the framework that makes it more compelling than ever for rapid prototyping. Combined with Hotwire's5 frontend capabilities, Rails continues to be the ultimate tool for transforming ideas into reality at startup speed.
The next time you have a business idea that needs validation, remember: with Rails, you're always just four articles away from a live, functional prototype. Ready to validate your next business idea at Rails speed? I help companies go from concept to stakeholder-ready prototypes in under a week. Let's talk about how rapid prototyping can accelerate your path to market.
Footnotes
-
DockerHub: Cloud-native software deployment made easy. https://hub.docker.com/ ↩
-
Kamal: Deploy web apps anywhere. From bare metal to cloud VMs. https://kamal-deploy.org/ ↩
-
DigitalOcean: The simplest cloud that scales with you. https://www.digitalocean.com/ ↩
-
Rails has extensive documentation with guides that can help you get started quickly. https://guides.rubyonrails.org/ ↩
-
Stimulus: A modest JavaScript framework for the HTML you already have. https://stimulus.hotwired.dev/ ↩